
Would you believe me if I told you that I used to work as a craft blogger? True story! Someone paid me to share the really lazy crafts I made each week with my kids. Turns out moms want easy crafts, preferably without glitter. And there are some moms who can’t resist a cute DIY.
I shared in my moms only group this week that I use these simple little DIY baggies to automate our tooth fairy giving. I made six at once and I keep 4 of the baggies pre-filled at all times so the tooth fairy never misses a stop! The other 2 bags I leave empty, one for each kiddo to collect their fallen teeth and leave under the pillow. Once they are asleep, I just swap out for the pre-filled baggie.
This system has worked for me for several years. It especially came in handy during the COVID quarantine when businesses closed. I couldn’t get the usual chocolate coins, or the gold dollar coin our tooth fairy traditionally leaves behind. Thankfully, I was already ahead of myself with this easy system. You can read my original post here, or scroll below for the step by step directions.
Here’s what you’ll need: (Makes 4 bags)
6 Medium organza gift bags (you can find at the dollar store)
1 Piece of white felt
Download a tooth shape to trace
12 Googly eyes
School glue
8 inches of string or yarn
Wax paper
*Optional pink paint for rosy cheeks
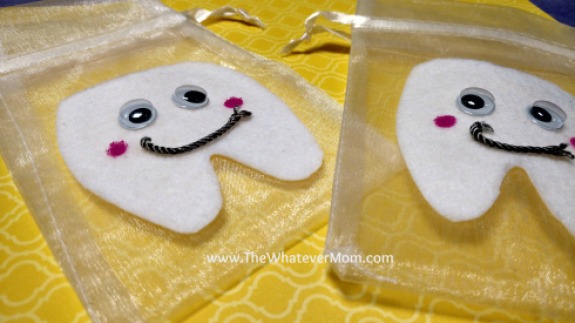
I found the tooth shape online and printed it out to trace and cut the felt shapes for all six bags.
To make the face, I cut the string into two inch pieces and glued to the felt, next I glued on the eyes. If you’d like cute little pink cheeks, dip a pencil eraser, small dowel, or the end of a round paint brush (whatever you have on hand) into the pink paint and apply at the ends of the smile. Allow time for the glue to dry before attaching the tooth shape to the bag.
Since you are working with an organza bag the glue will seep through and make a mess. If you cut a small square of wax paper to fit inside the bag it will keep the glue from sealing the bag closed.
Begin by inserting the wax paper into the bag before applying the felt shaped tooth. Once the tooth is on the baggie, wait a few minutes before removing the wax paper. Then, hang the open bag to dry. You can leave it at the end of a chopstick, a pencil or paint brush to keep the bag open while it dries. Allow the glue to dry overnight and before filling with treats.
We fill our bags with one gold dollar coin and five chocolate coins. Nothing fancy. I have heard of parents giving their kids $5 per tooth, or $20 for the first tooth and some parents put together an entire basket of gifts. Whatever works. I just know that having twins means double the magic and double the tooth fairy money. So keeping some pre-filled bags between payouts means I won’t be caught off guard the night a tooth falls out.
Do you go all out for the tooth fairy, or do you keep it simple?

Roxanne Ferber is a twin mom, blogger and freelance writer. She likes to keep expectations low by avoiding craft projects that involve any real crafting. Follow along with her daily posts on Facebook.